The fractal programs I use are Windows specific. There are probably similar applications for Macs, and there are a few on-line world generators as well.
This lesson will use an older, command-line driven utility I use that has a LOT of options. The source code can be found here. There is a link to the web interface that has most of the options available, but it is also more limited in the output size. And I like to have local copies of things like that as you never know when the web version or links will go away (why yes, I do also by DVDs...)
When you have this all installed, it also comes with several files that allow you to pick different color schemes. The instructions are fairly clear, so you can create your own color maps. I've done this for some worlds that are not carbon/nitrogen based.
The command is pretty complicated as there are a lot of options. It is also straightforward, and the included notes are very good.
I always create a directory for a specific planet and put the output there. I also include the command line once I am happy with a world.
Let's say we want a world that is about 50% water. My first step is to create a folder for my new planet, and run the command line. Something like:
D:\Software\FractalPlanet>planet -w 1600 -h 1200 -s .11122 -o planets/tutorial/tutorialPeters.bmp -pp -i -.0265 -S -C lefebvre2.col
water percentage: 95
Using the Peters projection also gives me the water percentage, aka our hydrosphere.
Here is how that command breaks down:
- D:\Software\FractalPlanet>planet I am in the software/fractalplanet directory, and the command to run is planet
- -w 1600 says make this 1600 pixels wide
- -h 1200 makes a 1200 pixel height.
- -s .11122 is the random seed - I just put in numbers :)
- -o planets/tutorial/tutorialPeters.bmp is the output, putting the resulting bmp (image) file in the tutorial directory under planets (where I am running the program). I usually name the file the planet name and projection to help me keep things straight when I look at that directory later
- -pp says use the Peters projection (I'll cover the projections further down this post
- -i -.0265 says to set the initial altitude (the default is -0.02, and this was a copy from an existing planet so I've adjusted the value a bit. This controls the water percentage, though not directly, but is the only way I know to adjust things once I have a map I like)
- -S says to make more "wrinkly" maps. I think I usually have that on as it seems to make more interesting planets
- -C lefebvre2.col is what color palette to use. There are several included

D:\Software\FractalPlanet>planet -w 1600 -h 1200 -s .11122 -o planets/tutorial/tutorialPeters.bmp -pp -i .03 -S -C lefebvre2.col
water percentage: 53
Close enough, and in looking at the image, let's make sure are still happy. If not, we can change the seed and start all over.
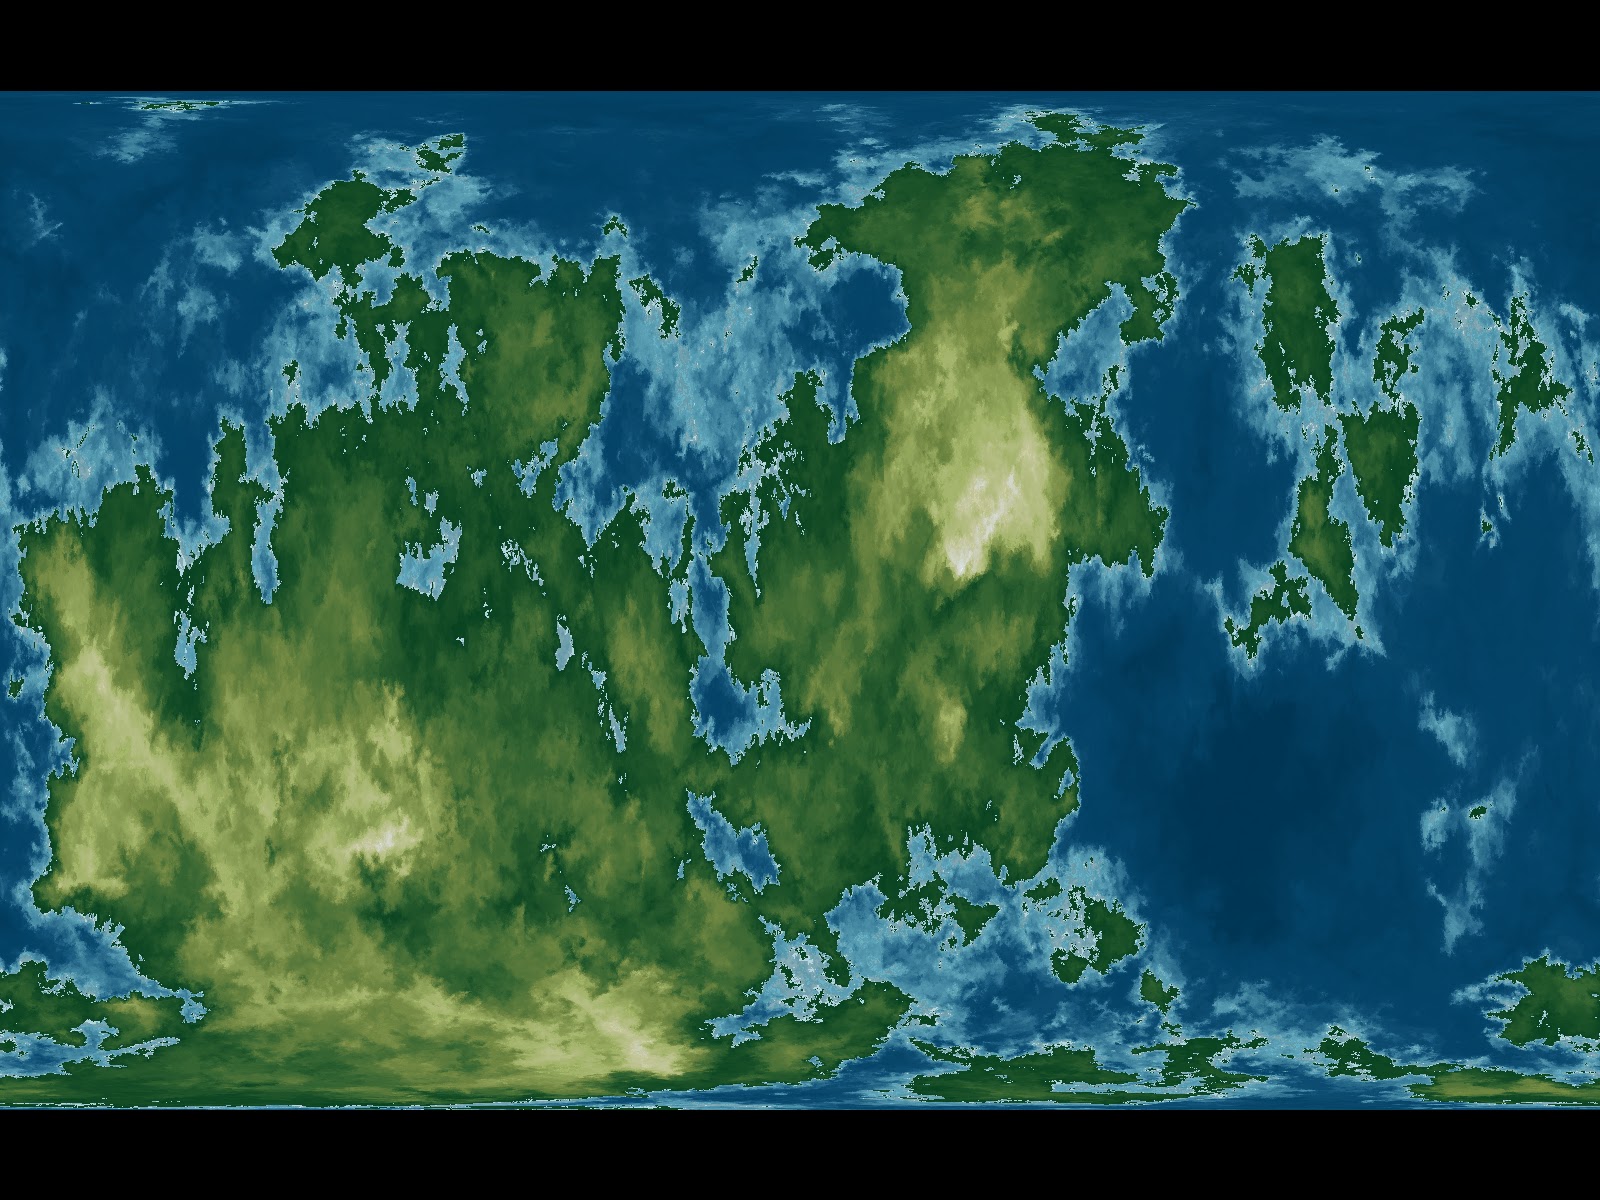
We have a huge land mass and several smaller ones. All sorts of interesting places. The I start making maps in other projections:
Specifies projection:
- m = Mercator (default)
- p = Peters
- q = Square
- s = Stereographic
- o = Orthographic
- g = Gnomonic
- a = Area preserving azimuthal
- c = Conical (conformal)
- M = Mollweide
- S = Sinusoidal
- h = Heightfield (obsolete. Use -H option instead)
- i = Icosahedral
D:\Software\FractalPlanet>planet -w 1600 -h 1200 -s .11122 -o planets/tutorial/tutorialMercator.bmp -pm -i .03 -S -C lefebvre2.col


D:\Software\FractalPlanet>planet -w 1600 -h 1200 -s .11122 -o planets/tutorial/tutorialMercatorBurrows.bmp -pm -i .03 -S -C burrows.col

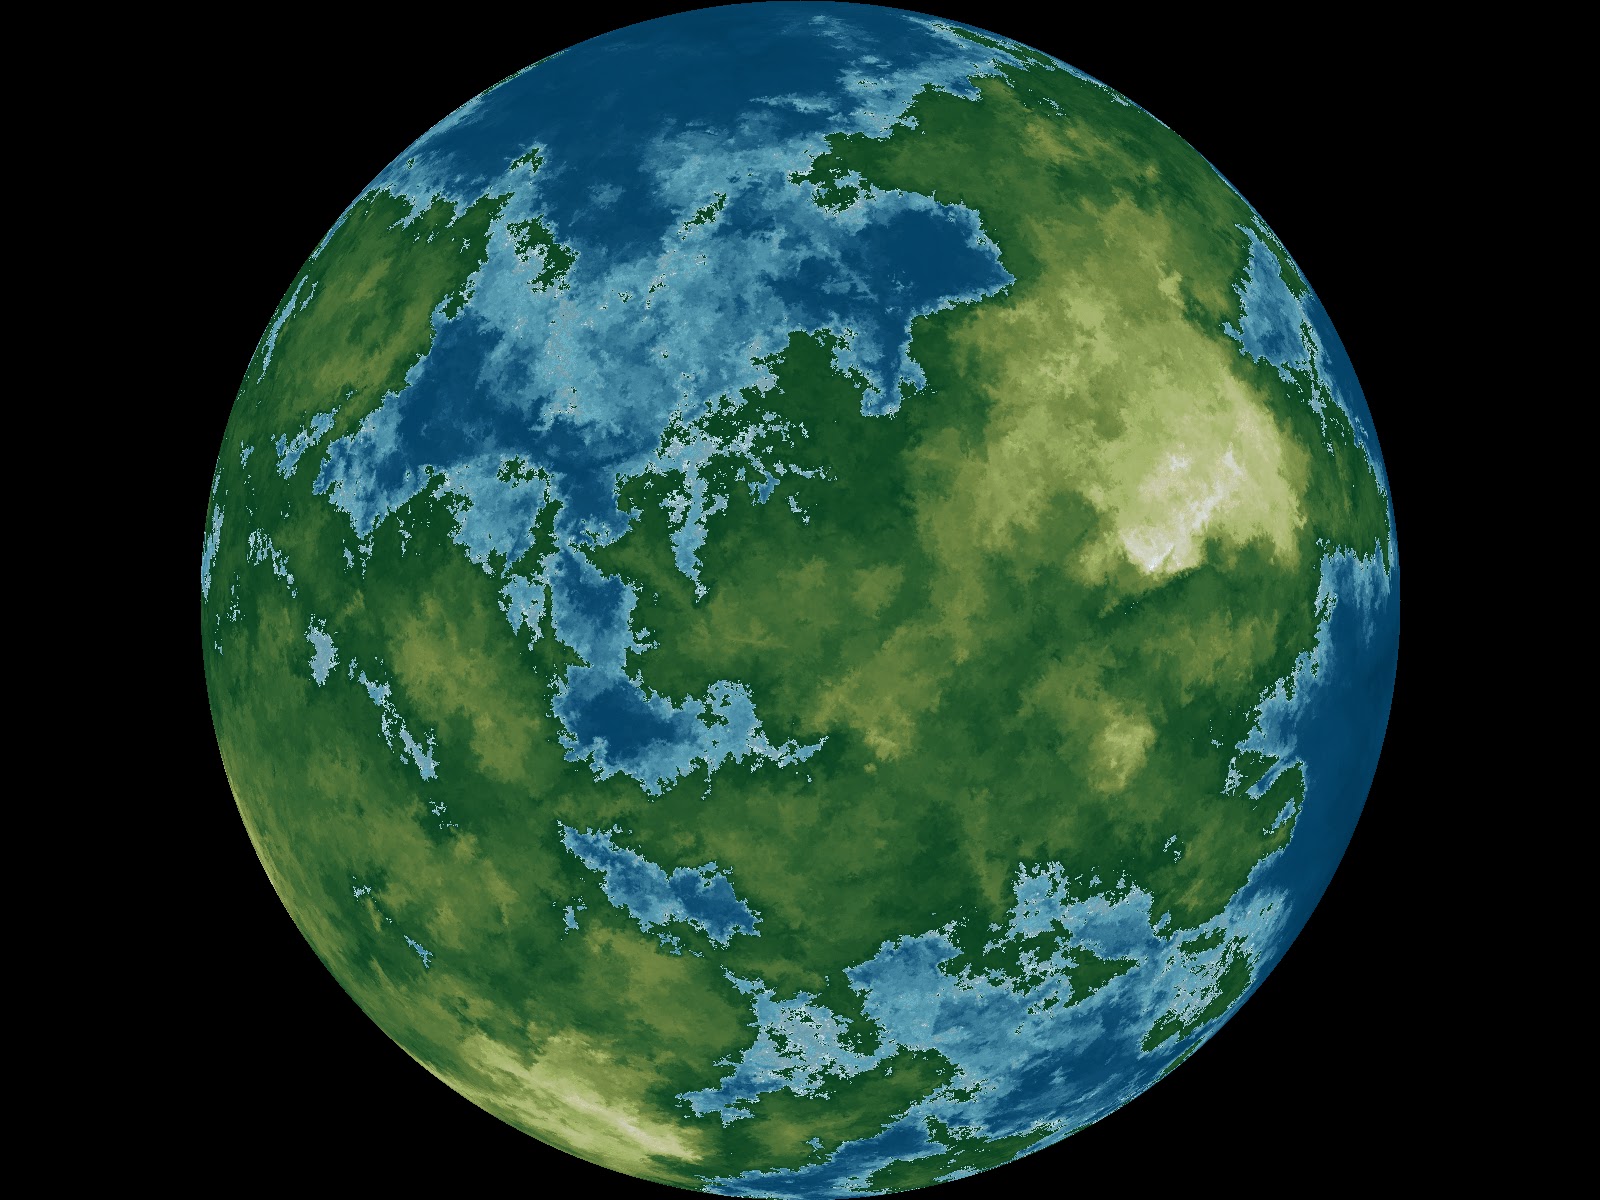
The only real issue with that option is that it is still a square drawing with the globe, so does not always look good when dropped into images. Usually I'll use GIMP and use that to cut out just the globe part.
Grids can make it look good as well. G/g for horizontal/vertical grid size:
D:\Software\FractalPlanet>planet -w 1600 -h 1200 -s .11122 -o planets/tutorial/tutorialOrthographicGrid.bmp -po -i .03 -S -C lefebvre2.col -G 10 -g 10


And there is how I make planets using the command line tool linked at the top of this post. And I also always save the initial Peters command line in a text file in that directory. If I need to create new views, it is handy having the seed and other data there. I may need a view from the north pole that I did not create initially.
No comments:
Post a Comment