There are always a lot of world maps one can find out there. As well as generating your own. But what if you have a flat world map, hopefully in the Mercator projection, and want to make a globe from that? GIMP has mapping tools, so that we can map a 2D surface to a 3D surface. GIMP is free and available on most platforms, so this should work on Macs, Linux & Windows systems.
First obviously we start with a flat map; this one was generated from Fractal Terrain but could be from anything.


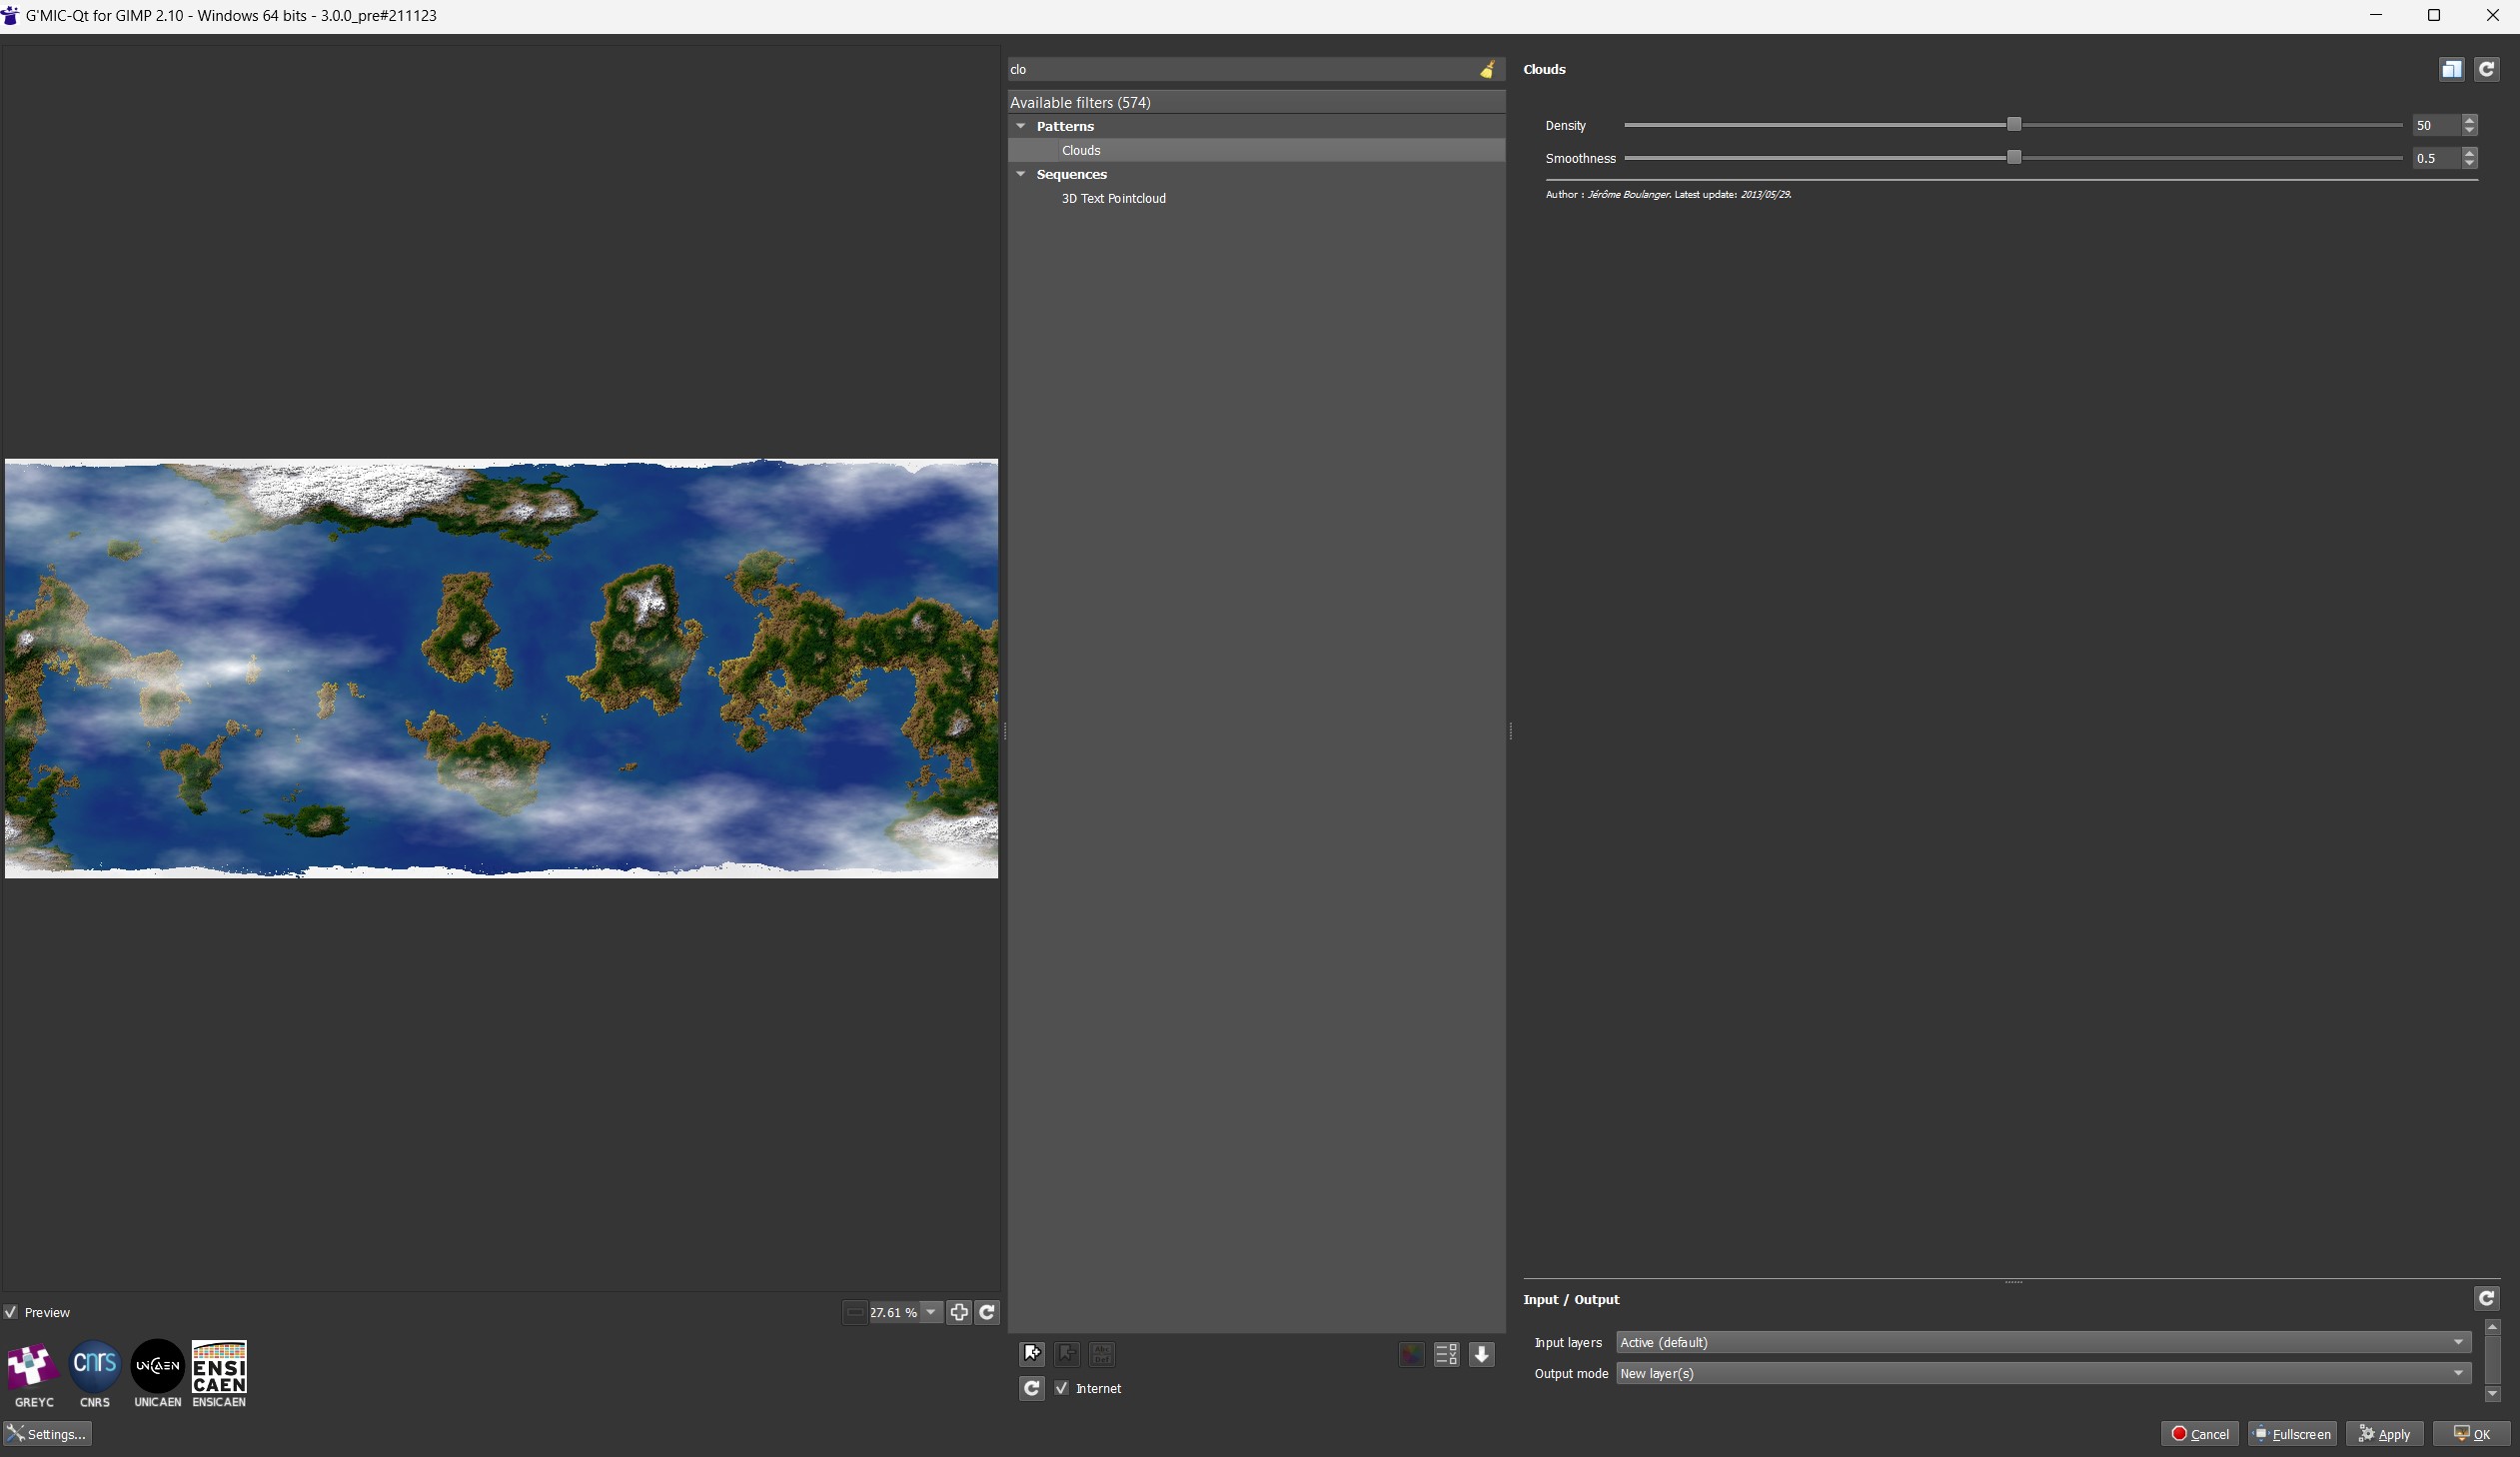
GIMP has a lot of options. I've added additional tools and filters over the years, and the Q'MIC has a LOT of filters, but so far I've only used the cloud filters. Play with that a bit until you get something to what you want:
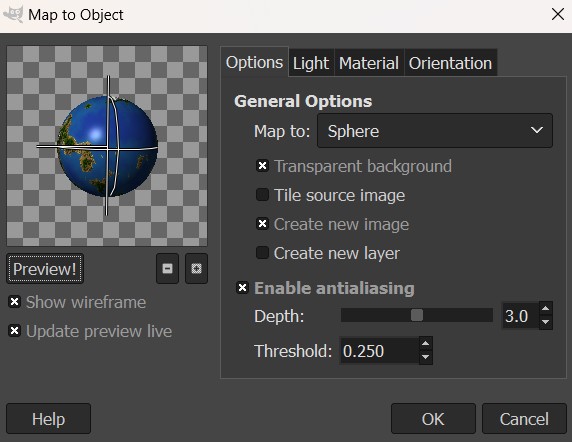
Now we get to the actual mapping this 2D map to our 3D globe. Use Filters->Map->Map Object.


I check the live preview; depending on the speed of your computer, you may want to just preview when you make your changes.
Off the bat there are 4 tabs on this dialog:
- Options are the base options. I will set the background to transparent, and create a new image. This will leave my 2D map as is.
- The light tab gives you access to the type and color of the, as well as where it comes from. This allows you to change the light to a redder star for instance. Play with the colors, and point versus directional lights.
- the material tab gives you control on how that light is reflected. This, with the light tab, can let you set where the sun is shining from.
- the Orientation tab is where you can rotate your planet to show it's best side. If you need to, you can go back to the original map to create multiple globes so you can view the planet from wherever you like


Once you are happy, hit OK and you will now have an oblong world!

Mapping the 2D to the 3D left the aspect ratio in there. To correct this, use the Image->Scale image. Unlock the aspect ratio (this keeps the height/width proportional), then make both height and width the same.


Click scale and now you have a globe. However - there is still all that transparent background. Which is okay if you want to leave that, but you can actually create trim the image so that there is no background at all. Useful for dropping into other drawing programs.

There is a selection tool. Choosing the ellipse will allow you to box in the globe with the selection:


Using edit->copy visible, I now have the selected area (my globe) in memory. File->create from clipboard will create a new image from that selected space.


Finally, make sure you do save your files! GIMP saves them in their native format so that you can edit them, but you can also export as PNGs or other image files.
Exported file - our planet! There are, as expected, a lot of options. I just take the default and I am good to go.

The nice part about this - you can add text, the grids and anything else you want to the flat map. Map that to a sphere gives you that additional detail as well. I'll do another tutorial on that if you want, but below you can see I've added a hex grid to the planet and mapped that out. And also realized I had forgotten to "flatten" the previous image, so my cloud layer never showed up.

No comments:
Post a Comment